Digitizing For Embroidery

From Sketch to Stitch: The Magic of Digitizing for Embroidery

Introduction

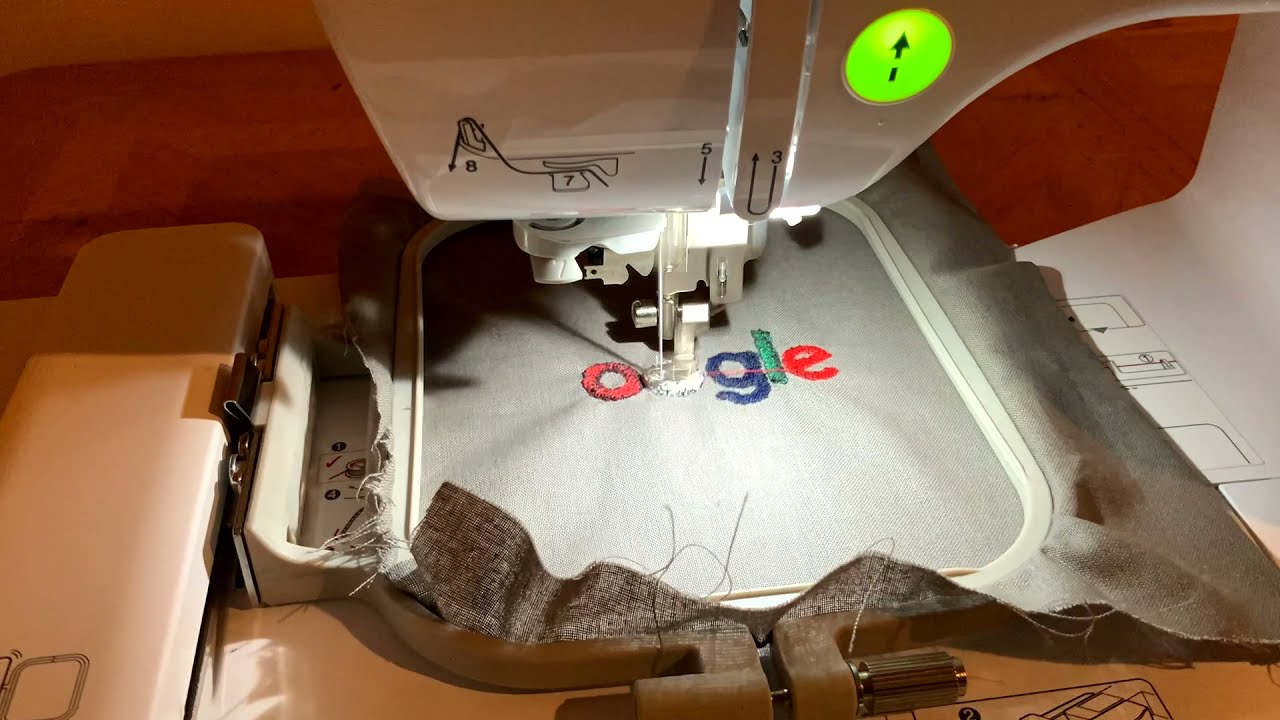
That beautiful floral sketch in your notebook could become your next stunning embroidery project—if you know how to bridge the gap between pencil and thread through digitizing for embroidery. Digitizing for embroidery transforms artwork into stitch-ready files, but it’s not just about tracing lines. Professional digitizers use specialized techniques to preserve an artist’s vision while making designs stitchable.

This guide reveals the behind-the-scenes magic of digitizing for embroidery that turns sketches into dimensional thread art. You’ll learn how to prepare drawings for digitizing for embroidery, choose the right stitch types for different effects, and avoid common mistakes that ruin handmade charm. Whether you’re an artist looking to translate your work to fabric or an embroiderer wanting to create original designs through digitizing for embroidery, these techniques will elevate your craft.

The Art of Sketch Preparation

Characteristics of Embroidery-Friendly Drawings

  1. Clear Line Work
    • Bold, continuous outlines
    • Minimal overlapping strokes
    • Defined start/end points
  2. Intentional Negative Space
    • Areas for satin stitch borders
    • Breathing room between elements
    • Balance of filled and open areas
  3. Consideration of Scale
    • Features sized for thread thickness
    • Text large enough to remain legible

Digital Cleanup Techniques

For Hand-Drawn Sketches:

  1. Photograph in even natural light
  2. Increase contrast in Photoshop/GIMP
  3. Remove stray marks with healing tools
  4. Convert to pure black and white

For Digital Art:

  1. Simplify layers to key elements
  2. Outline important details
  3. Export at 300dpi minimum

The Digitizer’s Toolkit

Essential Software Features

  • Vector Conversion: Turns sketch lines into clean paths
  • Stitch Type Library: Satin, fill, running, and specialty stitches
  • Pull Compensation: Adjusts for fabric stretch
  • 3D Preview: Shows how stitches will lay on fabric

Recommended Programs

Skill LevelSoftwareBest For
BeginnerInk/Stitch (Free)Learning basic digitizing
IntermediateEmbrilliance ($299)Small business quality
ProfessionalWilcom Hatch ($1,800)Commercial production

Stitch Selection Strategies

Matching Stitches to Art Style

Sketchy Line Art:

  • Running stitch with varied lengths
  • Intentional “gaps” to maintain hand-drawn feel
  • 0.25mm spacing for delicate lines

Bold Graphic Designs:

  • Satin stitch borders (1.5-2mm width)
  • Dense fill stitches (0.3mm spacing)
  • Layered understitching

Watercolor Effects:

  • Gradient fill stitching
  • Mixed thread types (matte + shiny)
  • Directional stitch patterns

Special Effects

  1. Thread Painting:
    • Varying stitch directions
    • Blended color transitions
    • Up to 8 thread colors per section
  2. 3D Detailing:
    • Foam underlay for raised areas
    • Stitch-through trapunto
    • Corded outlining

The Professional Digitizing Process

Step 1: Vector Conversion

  1. Import cleaned sketch
  2. Auto-trace with 90% accuracy setting
  3. Manually correct problem areas

Step 2: Stitch Mapping

  1. Assign stitch types to each element
  2. Set direction and density
  3. Add underlay patterns

Step 3: Testing and Refinement

  1. Stitch 3″ sample section
  2. Check for:
    • Tension issues
    • Fabric distortion
    • Color accuracy
  3. Adjust stitch parameters

Common Pitfalls and Fixes

Problem: Lost Detail

Solution:

  • Increase stitch points on curves
  • Use triple running stitch for fine lines
  • Simplify adjacent elements

Problem: Stiff Fabric

Solution:

  • Reduce overall density by 15%
  • Switch to more open fill patterns
  • Use lighter weight stabilizer

Problem: Unintended Texture

Solution:

  • Standardize stitch lengths
  • Balance underlay density
  • Check thread tension

Bringing Sketches to Life

Case Study: Floral Wreath

  1. Original Sketch: Loose pencil drawing
  2. Digitizing Choices:
    • Satin stitch stems (1.2mm)
    • Layered fill petals
    • Seed stitch centers
  3. Result: Dimensional, botanical-looking embroidery

Case Study: Animal Portrait

  1. Original Sketch: Charcoal drawing
  2. Digitizing Choices:
    • Directional fill for fur texture
    • French knot eyes
    • Outline stitch whiskers
  3. Result: Tactile, lifelike thread painting

Advanced Techniques

Preserving Artist’s Hand

  • Imperfection Retention:
    • Slight line wobbles in running stitch
    • Varied stitch lengths
    • Asymmetric elements
  • Signature Style Translation:
    • Cross-hatching → Seed stitch
    • Smudging → Gradient fills
    • Bold outlines → Raised satin

Custom Stitch Patterns

  1. Create repeating motif designs
  2. Save as custom fill patterns
  3. Apply to background elements

From File to Fabric

Optimal Stitching Order

  1. Underlay stitches
  2. Background elements
  3. Main subject outlines
  4. Fill areas
  5. Fine details
  6. Final outlining

Hooping Strategies

  • Floating Method: For delicate fabrics
  • Sticky Stabilizer: For intricate designs
  • Double Hooping: Large designs

The Future of Artistic Digitizing

Emerging Trends:

  • AI-assisted style translation
  • AR sketch-to-stitch previews
  • Haptic feedback digitizing

Conclusion

Digitizing transforms sketches into living thread art through equal parts technical skill and artistic vision. By understanding how drawings translate to stitches—from the boldness of lines to the flow of fills—you can create embroidery that truly honors original artwork.

Key takeaways for artists and digitizers:

  1. Prepare sketches with embroidery in mind – Not every drawing converts equally
  2. Stitch selection tells the story – Choose techniques that match the art style
  3. Test relentlessly – Perfect digitizing requires iteration

Your next sketch could become someone’s cherished embroidered heirloom. With these professional techniques, you’re equipped to bridge the magical gap between pencil and thread.

AbsoluteDigitizing1
AbsoluteDigitizing1
Articles: 2

Leave a Reply

Your email address will not be published. Required fields are marked *