Introduction
Your logo represents your brand’s identity, and when it comes to embroidered apparel, you want it to look crisp, professional, and high-quality. But getting from a digital logo to an embroidered masterpiece requires a special process called digitizing.
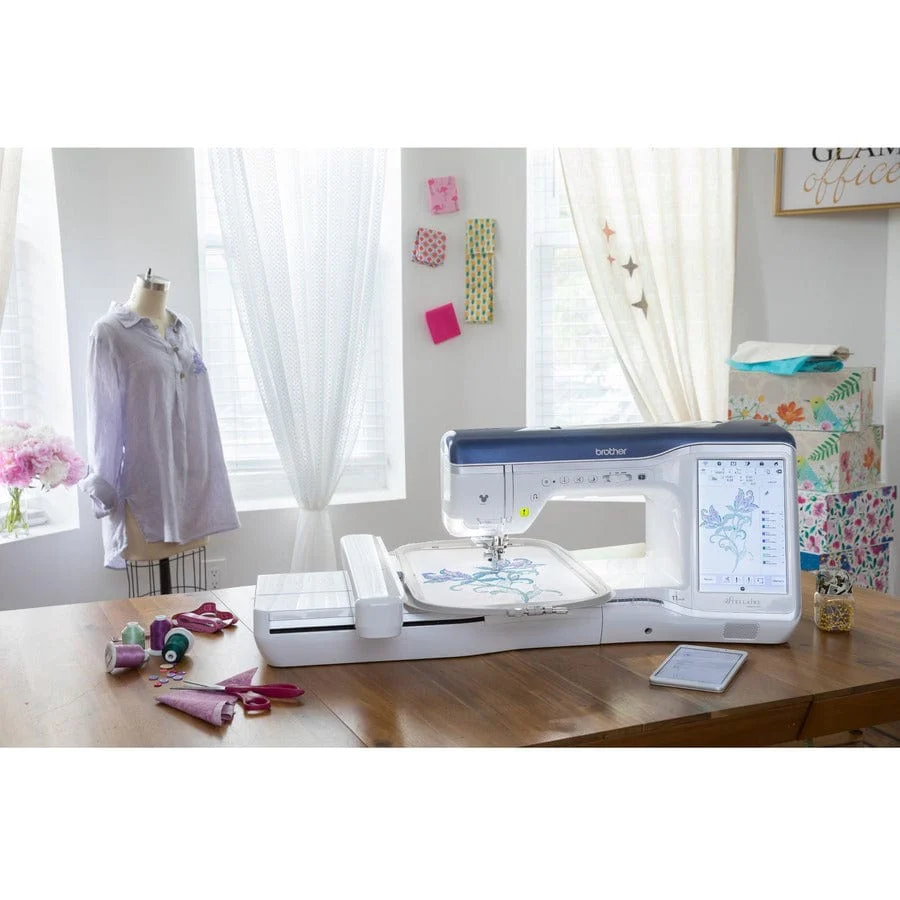
Unlike simple printing, embroidery digitizing converts your logo into a language embroidery machines understand – mapping out every single stitch’s type, direction, and sequence. Done right, you get a logo that pops with perfect clarity. Done wrong, you end up with a blurry, puckered mess.
This guide will walk you through everything you need to know about logo digitizing services, from preparing your artwork to choosing the right digitizing service. By the end, you’ll understand how to get embroidery-ready files that make your brand look its best.
What Makes a Logo “Embroidery-Ready”?
An embroidery-ready logo isn’t just your standard JPEG or PNG file. It’s a specially coded instruction set (usually in .DST, .PES, or .EXP formats) that tells the embroidery machine:
- Exactly where to place each stitch
- What type of stitches to use
- The optimal stitch direction
- How dense the stitching should be
- What thread colors to use
A well-digitized logo accounts for:
Fabric Considerations
The same logo will stitch differently on:
- Stretchy polo shirts vs.
- Sturdy canvas bags vs.
- Delicate dress shirts
Size Limitations
Small logos need simplified details that remain clear at reduced sizes.
Color Transitions
Gradients and complex color blends often need adaptation for thread-based reproduction.
Preparing Your Logo for Digitizing
Before sending your logo to be digitized, follow these preparation steps:
1. Provide Vector Files When Possible
- Ideal formats: .AI, .EPS, or .SVG
- Vector art scales perfectly without quality loss
- Contains clean paths that convert well to stitches
If you only have raster files (JPEG/PNG):
- Ensure high resolution (300+ DPI)
- The image should be at least 3x larger than your intended embroidery size
2. Simplify Complex Elements
- Remove tiny text (under ¼ inch tall rarely stitches well)
- Simplify intricate details that may become muddy
- Consider separating multi-color gradients into distinct color blocks
3. Specify Your Requirements
Tell your digitizer:
- Intended garment/material type
- Logo placement (chest, sleeve, etc.)
- Exact size in inches
- Any special effects (like 3D puff)
The Logo Digitizing Process: Step by Step
Professional digitizers follow this workflow:
1. Artwork Analysis
- Evaluating design complexity
- Identifying potential problem areas
- Planning stitch types and sequence
2. Stitch Mapping
- Converting design elements to appropriate stitch types:
- Satin stitches for text and borders
- Fill stitches for larger areas
- Running stitches for fine details
3. Technical Adjustments
- Setting proper stitch density
- Adding stabilizing underlay stitches
- Adjusting for expected fabric pull
4. File Testing
- Running sample stitch-outs
- Making necessary adjustments
- Finalizing the production file
Common Logo Digitizing Challenges (And Solutions)
Challenge: Small Text Becomes Unreadable
Solution:
- Increase text size if possible
- Use bold, simple fonts
- Consider removing text and using just symbols
Challenge: Complex Gradients Look Flat
Solution:
- Simplify to 2-3 solid thread colors
- Use stitch direction to create visual texture
- Consider alternative placement strategies
Challenge: Fine Details Get Lost
Solution:
- Remove extremely thin lines
- Increase element spacing
- Use satin stitches instead of fills where possible
Choosing a Logo Digitizing Service
Key factors to consider:
Experience with Brand Logos
Look for digitizers who:
- Specialize in corporate/brand embroidery
- Understand logo integrity requirements
- Have portfolio examples of similar work
Turnaround Time
Standard options:
- Rush (4-12 hours)
- Regular (24-48 hours)
- Economy (3-5 days)
Pricing Structure
Average costs:
- Simple logos: $15-$25
- Medium complexity: $25-$40
- Highly detailed: $40-$75
Revision Policy
Quality services offer:
- 1-2 free revisions
- Quick adjustment turnaround
- Clear communication channels
DIY vs Professional Digitizing for Logos
When DIY Might Work
- Extremely simple designs (basic shapes/text)
- Non-critical personal projects
- When budget is extremely limited
Why Professionals Are Worth It
- Preserve your brand’s professional image
- Avoid costly stitching mistakes
- Get optimal results across different garments
- Save time and frustration
Caring for Digitized Logo Embroidery
Make your embroidered logos last longer:
Washing Tips
- Turn garments inside out
- Use mild detergent
- Wash in cold water
- Air dry or tumble dry low
Storage Advice
- Hang rather than fold to prevent creasing
- Keep away from direct sunlight
- Avoid sharp objects that could snag threads
Conclusion
Getting your logo embroidery-ready through professional digitizing ensures your brand always looks its best on hats, shirts, bags, and other promotional items. By starting with clean artwork, choosing an experienced digitizer, and understanding the process, you’ll get crisp, durable logos that stitch out perfectly every time.
Remember that quality digitizing is an investment that pays off in professional appearance and longevity. Your logo represents your brand – make sure it’s represented well.